Bed Capacity Management Filters
Filters let you refine the data shown in the tiles. There is a page selector that uses a filter to navigate to different pages. Each page has additional filters; examples include Region, Sub-Region, Facility, Site, Service, Bed Type, and Census Date Range. Applying a filter affects the data displayed. To return to the default view, click the Reset button.
The 5 types of filters are:
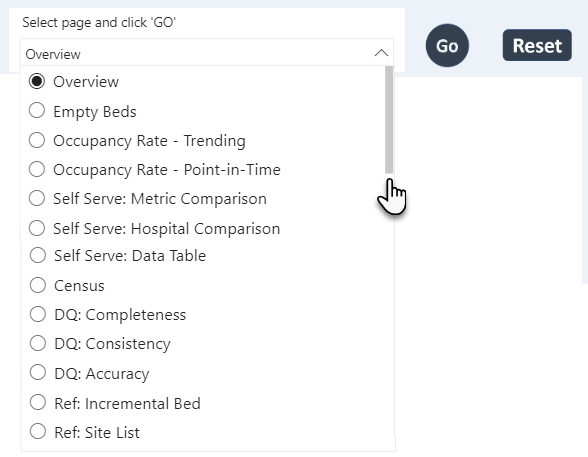
Page Selector
The page selector is used to navigate between pages within the Bed Capacity Management application. To switch to another page:
- Click the drop-down arrow. Use the scroll bar to view the entire list.
- Select a page.
- Click Go.
Buttons
Button filters can be applied by clicking on them. To remove the filter, click another button.

Multi-select
Multi-select filters allow you to pick multiple selections. Multi-select filters are identified by a square checkbox. The default is All.
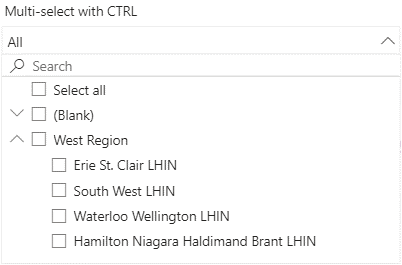
To select multiple options:
- Click the drop-down icon to expand the list.
- Find the item(s) you want to select. You can:
- Search using the Search box and click Enter.
To clear your search delete your search term and click Enter again.
-or- - Browse the list. Expand the levels using the Expand/Collapse
 icon
icon
- Search using the Search box and click Enter.
- Select the first filter
- Hold down the CTRL key to select additional filters
- The filters are applied automatically
- To clear the filters, hover over the filter header and click the Clear selections
 icon that appears.
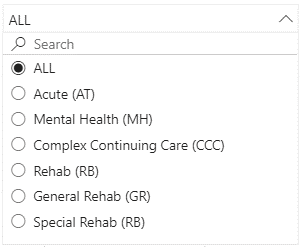
Single-select filters allow you to pick a single selection. Single-select filters are identified by a round radio button.The default is All.
To select an option:
|
|
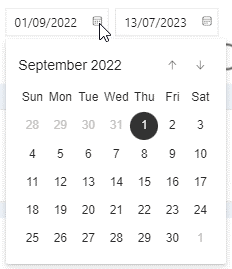
Date Range
Date range filters let you apply a date range to the data.
To apply a range:
- Drag the sliders for the dates you want to review. For most tables (or point in time visuals), the end date represents the data shown.

-OR- - Click the Calendar icon to navigate to the date you want.
